
Last updated November 22, 2026
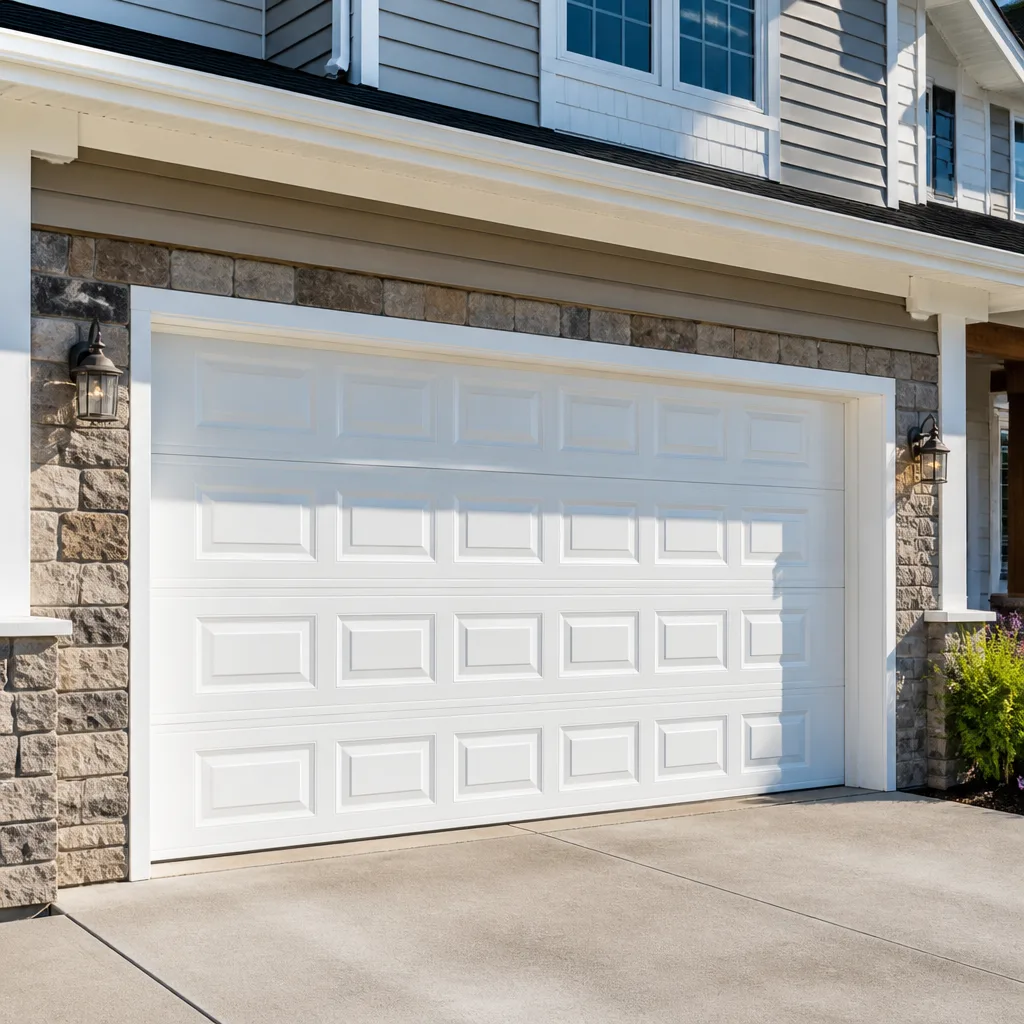 Raised-panel steel
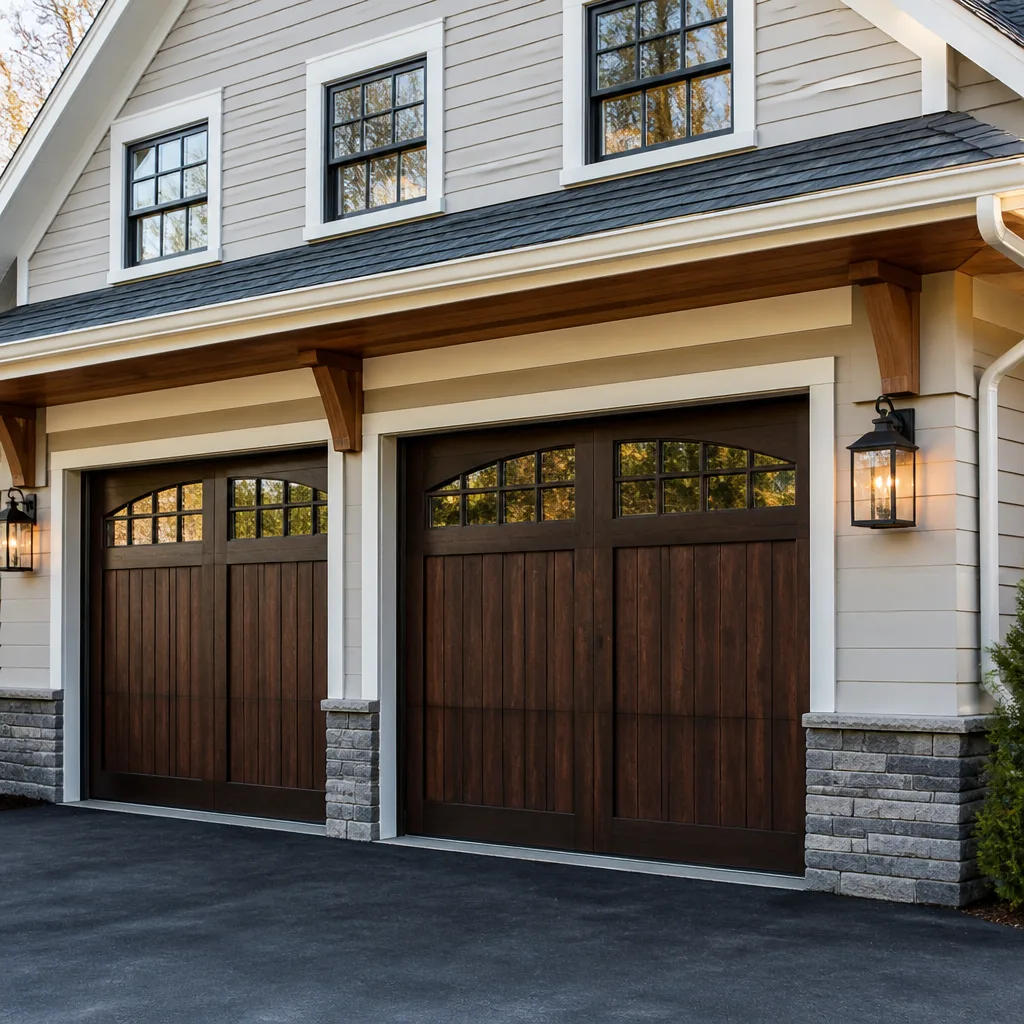 Carriage house
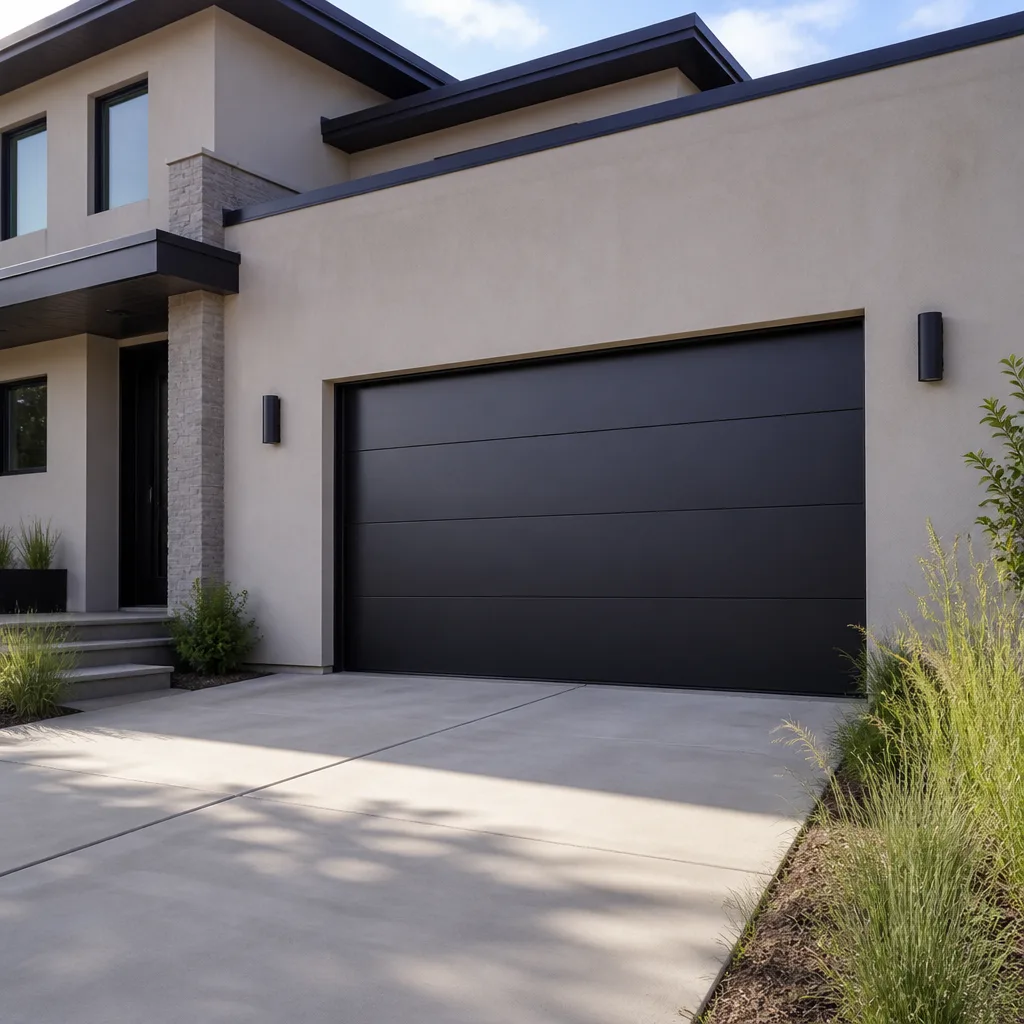 Modern flush
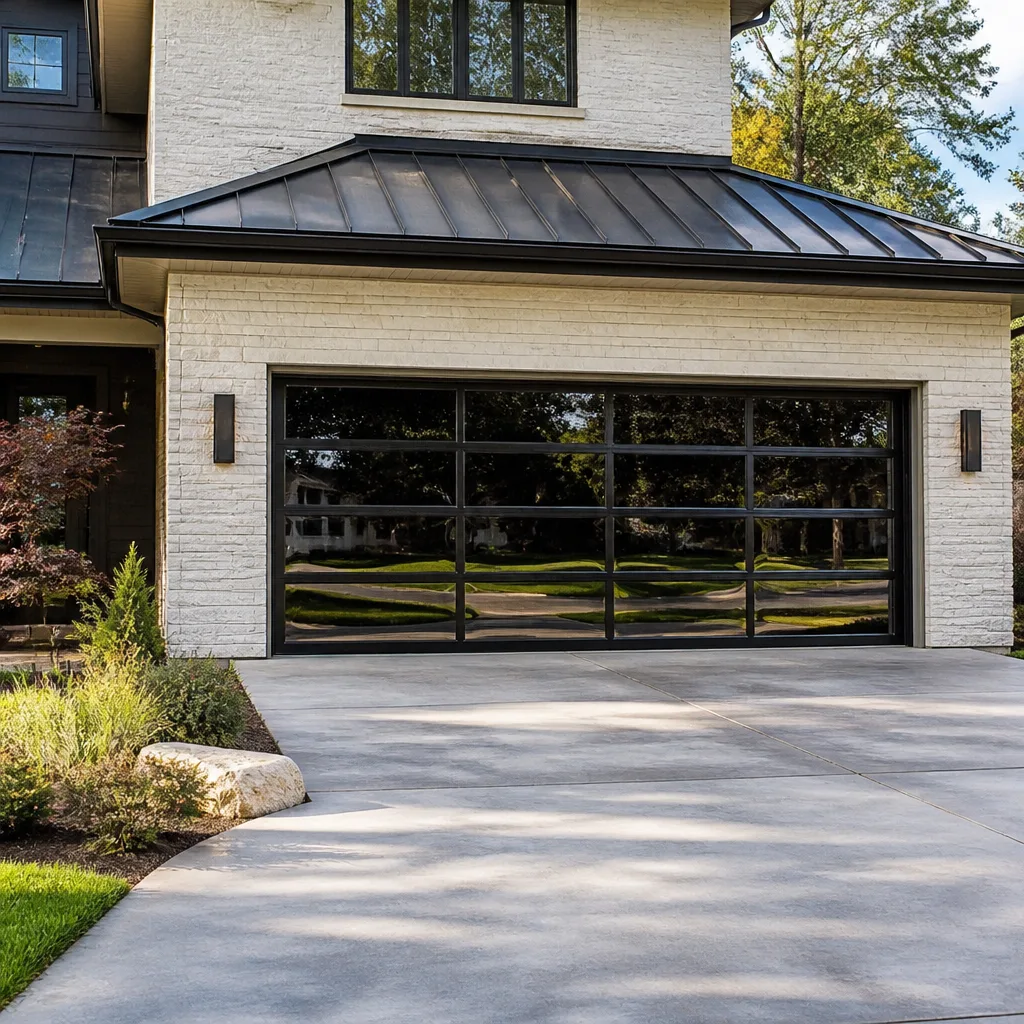 Full-view glass
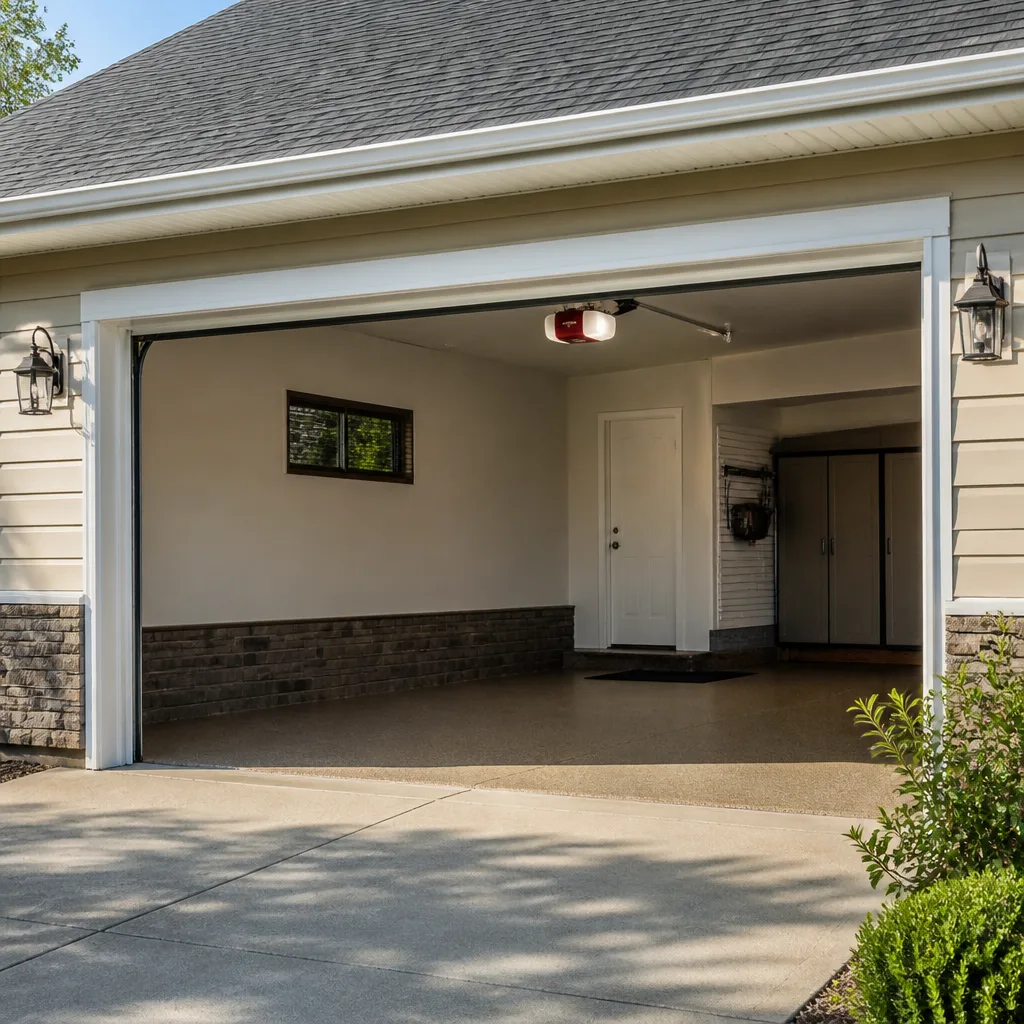 LiftMaster openers
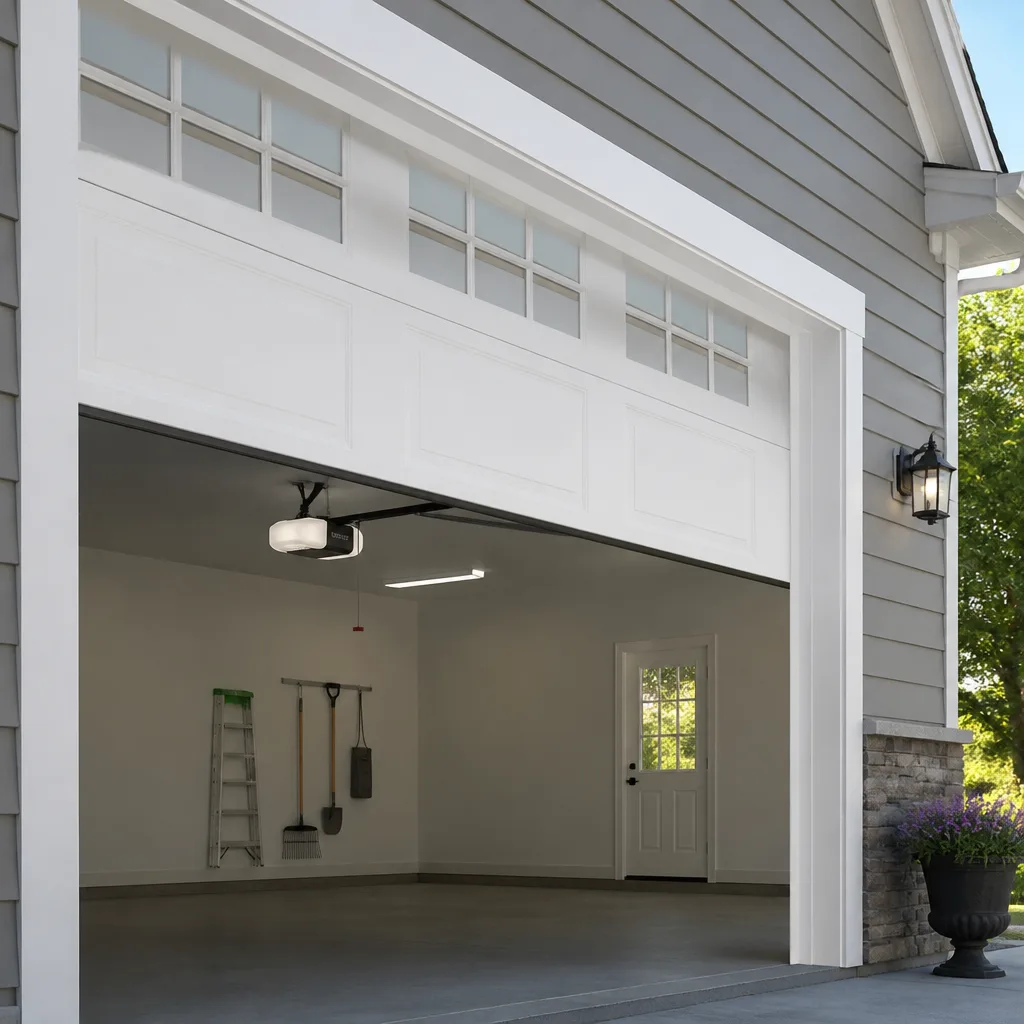 Chamberlain openers
Full 25-point door and opener safety check with every visit - springs, cables, rollers, tracks, and your LiftMaster or Chamberlain opener included
You get a price before we start. It does not change when the pro arrives.
Get your free estimateGarage Door Repair Maintenance Checklist for Somerville Homeowners
Most Somerville homeowners assume a garage door fails from old age. In our experience the failure usually traces back to a maintenance step done wrong months earlier: the wrong spray on the torsion spring, or a “lubricant” that actually collects grit. Winter road salt coats the hinges and rollers in a fine abrasive paste, and the freeze-thaw swings Somerville sees from December into March work the door’s metal harder than any summer heat wave. Add heavy bus vibration from the McGrath Highway corridor and you have a door that lives a harder life than most people expect. This checklist is built around those specific stresses, not a generic calendar. You’ll get realistic timing for each task so you know what fits in 20 minutes and what needs a trained hand.
Quick Answer
A workable garage door maintenance checklist for a Somerville home runs four to six times a year, timed around salt season and temperature swings rather than calendar months. The core tasks are lubricating springs, hinges, and rollers with a dry or silicone-based product (never grease on heavy road-salt exposure), checking the bottom seal for rot after each New England winter, testing spring and cable tension when temperatures move more than 20 degrees, and tightening hardware loosened by traffic vibration. Anything involving torsion springs or cables calls for a qualified technician, not a homeowner with a wrench.
Styles & brands we work with
- Raised-panel steel
- Carriage house
- Modern flush
- Full-view glass
- LiftMaster openers
- Chamberlain openers
Table of Contents
- The Lubrication Question: Right Product, Right Parts
- Inspecting Bottom Seals After a New England Winter
- Spring and Cable Tension Checks Timed to Temperature
- Hardware and Vibration: What the Bus Corridor Does to Your Door
- A Realistic Maintenance Schedule for Somerville
- Opener Maintenance and Brand-Specific Quirks
- What’s Safe to Check Yourself vs. What Isn’t
- What Maintenance and Repair Typically Cost in Somerville
The Lubrication Question: Right Product, Right Parts
The number-one maintenance mistake we see in Somerville homes is lubricating the moving parts with the wrong product. A can of heavy grease or a general-purpose household spray feels like it’s helping. It isn’t. It acts as a magnet for the grit and road salt that swirls around any home near a busy street, and over a season that paste grinds away at the metal it was meant to protect.
Here’s what to actually use:
- Torsion springs: a spray silicone or lithium grease made for garage door hardware. The spring coil carries most of the door’s weight; a light, clean film lets it flex without attracting grit.
- Rollers: a few drops of oil on metal roller stems only, not on the roller tire. Nylon rollers need no lubrication at all – oil on nylon collects dust.
- Hinges and pivot points: a small amount of silicone spray. One light pass is plenty. Excess runs down the door and stains paint.
- Avoid: WD-40 (it’s a solvent, not a lasting lubricant), heavy axle grease, cooking spray, and anything with a “tacky” feel that would trap road dust.
We work on the parts across Clopay and Amarr doors regularly, and both brands are clear that a lubed torsion spring assembly should be almost dry to the touch, not dripping. If you finished lubing and the door feels greasy, you’ve overdone it. Wipe the surplus off before the next salt truck comes down your street.
Time estimate: 15 to 20 minutes for a full lubrication pass on a standard two-car door.
Inspecting Bottom Seals After a New England Winter
The rubber seal at the bottom of your garage door takes the full brunt of a Somerville winter. Salt spray, slush, standing water at the threshold, and repeated freezing and thawing all attack that single strip. Most homeowners don’t notice until the seal has cracked and water is entering the garage.
Here’s how to tell replacement from a still-serviceable seal after a hard winter:
- Run a hand along the underside of the seal. It should feel pliable, like a new rubber gasket. Hardness or hardening with visible hairline cracks means it’s done.
- Check the contact with the floor by closing the door and looking for any daylight showing underneath. A seal that gaps in one spot and presses hard in another has lost its shape.
- Look for tears bigger than a few inches where the rubber has actually split. A small nick is fine; a torn section lets in cold air, moisture, and small pests.
- Inspect the metal track the seal slides into. If rust has crept up under the rubber, the whole assembly should come off.
Replacing a bottom seal is a genuinely doable homeowner task on most doors, and it’s one of the few weatherstripping jobs we’d say fits that description. On Clopay and Amarr doors the seal profiles match specific rails; ordering the wrong profile means it won’t seat properly. If you’ve never done it, most hardware stores around Somerville stock a reasonable universal replacement, but for a lasting fit it’s worth letting a tech match the exact part.
Time estimate: 10 minutes to inspect, 30 to 45 minutes to replace a bottom seal on your own.
Spring and Cable Tension Checks Timed to Temperature
Springs don’t fail on a calendar. They fail on the coldest morning of the year, or the first hot day after a cold snap. In Somerville, that means the sensible time to check tension is every time the temperature moves more than 20 degrees in a week – not just when you remember it’s been a while.
What to look for without dismantling anything:
- Lift test: open the door halfway, then let go. A healthy door stays roughly where you left it. A door that drops or drifts means springs are losing their lift.
- Balance test: close the door, then lift it by hand. A well-balanced single-car door needs about the same effort as lifting a gallon of milk. If it feels remarkably heavy, a spring is weak or broken.
- Visual spring check: look at the torsion spring at the top of the door. A small gap of a half-inch or more in the coil, or obvious rust pitting, means it’s at the end of its life.
- Cable check: both cables should sit in the drum cleanly with even tension. Any slack, fraying, or a cable that has jumped its track is a call-a-tech situation.
Safety warning: torsion springs are under enormous tension and can cause serious injury if handled. Never adjust a torsion spring yourself, never try to unwind a spring, and never cut or force a cable. This is exactly the kind of safety-critical repair we handle as a core service rather than an upsell – garage door spring repair is a job for a trained hand. If you suspect a broken spring, don’t run the opener.
Time estimate: 3 minutes for the lift and balance tests. Anything beyond that is a technician’s job.
Hardware and Vibration: What the Bus Corridor Does to Your Door
Anyone whose home sits within a block or two of the McGrath Highway corridor, Broadway, or Highland Avenue understands this without needing a study. Heavy bus traffic sends low-frequency vibration through the ground, the foundation, and up into the door frame. Over months, that vibration works screws and bolts loose in a way that a rural garage door never will see.
What loosens and what you can do about it:
- Track bolts: the bolts holding the vertical tracks to the wall work loose first. Check them every couple of months. Snug them up with a socket wrench, not a screwdriver, and stop when you feel real resistance. Over-tightening can deform the track.
- Hinge screws: the small screws fixing hinges to the door panels back out with vibration. Replace worn screws with slightly longer self-tappers rather than just retightening the originals.
- Roller stems: a roller that has walked partway out of its bracket will chatter and wear out fast. Slide it back into full seat and confirm it holds.
- Operator rail bolts: the bolts holding the opener rail to the door frame are often the first to shake free. They’re visible from the floor and easy to check.
On Chamberlain and Genie openers, a vibration pattern that shows up as intermittent rattling in the motor housing often traces back to loose rail bolts rather than anything wrong with the opener itself. Homeowners pay for a repair they don’t need because the actual problem is a bracket that needed a quarter-turn. Snug hardware is the cheapest maintenance there is.
Time estimate: 10 to 15 minutes to walk the tracks and hinges with a wrench.
A Realistic Maintenance Schedule for Somerville
Forget quarterly. Somerville doors need care timed to actual stresses: salt season, the wet thaw of late winter, summer temperature spikes, and the cold snap that arrives every October. This schedule works because it matches the physics of what’s happening, not a planner template.
- Late fall (before the first salt truck): full lubrication pass on springs, hinges, and roller stems. Check weatherstripping on the sides and top of the door for gaps that will let in cold air. Tighten all hardware.
- Mid-winter (after any deep freeze): run the lift test and visual spring check. Snug anything that has loosened from salt-truck vibration. Look for salt buildup around the bottom seal.
- Late winter (after the last snow, before the spring thaw): full inspection of the bottom seal and side weatherstripping. This is when the rot and cracking show up. Wipe accumulated salt grit off the bottom track with a damp rag.
- Early spring: re-lubricate all moving parts. Salt exposure has stripped the previous film and grit has been ground into the pivots. Replacing the seal if it failed the winter inspection.
- Mid-summer: lift test, balance test, and a quick look at hinge screws. Heat expansion and vibration together loosen hardware fastest in the summer months.
- Early fall: opener check – test safety reverse, listen for new rattles, and look at rail bolts. Prep for the cold-push the door is about to face.
That’s six touchpoints a year, most of them 10 to 20 minutes. It sounds like a lot until you compare it with the cost and disruption of a spring failing on a school morning. We’re in Somerville homes all year and the doors that fail are consistently the ones that had two or three seasons of skipped checks.
Opener Maintenance and Brand-Specific Quirks
The opener gets ignored until it stops. A few minutes of attention twice a year keeps it working through the years the door faces heavy use. Different brands behave differently, and knowing which quirk belongs to which brand saves you a diagnostic call.
- Safety reverse test: place a small object like a brick or a rolled-up towel at the closing edge of the door, then close it. The door should reverse on contact. If it doesn’t, stop using it and call for garage door opener repair promptly – a non-reversing door is a genuine safety issue.
- Force adjustment: most openers have adjustment screws for up and down force. Only turn them if the door struggles against real resistance after the door itself has been checked. Force should never be increased to compensate for a binding door.
- Chain and belt tension: on a chain-drive unit, some sag is normal – about half an inch of play. On a belt-drive, the belt should be almost straight. Over-tightening either one shortens life.
- Photo-eye alignment: the small sensors at the bottom of the tracks need to be lined up and clean. Dust from road grit clings to the lens. A soft cloth is all it takes.
- Brand-specific patterns: Chamberlain and LiftMaster units often display error codes on the wall control when something is wrong – check the manual before calling. Genie units sometimes lose their travel limits after a power surge and need reprogramming. Neither is a failure of the opener itself.
Time estimate: 10 minutes for the safety reverse test and photo-eye clearing. Program or adjustment work varies – 15 to 30 minutes.
What’s Safe to Check Yourself vs. What Isn’t
We’d rather tell you to stop than send you up a ladder to a broken spring. Some maintenance tasks are genuinely homeowner-level. Others carry real risk and belong with a trained technician. Here’s the honest split.
Safe to handle yourself:
- Lubricating hinges, rollers, and pivot points with silicone spray
- Replacing a bottom seal on a door where you can buy the exact profile
- Testing the safety reverse and photo-eyes
- Snugging visible track bolts and hinge screws
- Wiping salt and grit off the bottom track
- Doing the lift and balance tests
Not safe – call a technician:
- Any adjustment, replacement, or unwinding of a torsion spring
- Any work on cables, drums, or the bottom bracket
- Realigning a bent track
- Replacing rollers on a door where the springs are still under tension
- Rewiring a wall control or adding a new opener hardwired circuit
Torsion springs and high-tension cables are the two parts of a garage door that put people in the emergency room. If you’re unsure whether a job is on the safe list, it isn’t. That’s part of why we treat garage door repair as a specialist job rather than something a general handyman should take on.
What Maintenance and Repair Typically Cost in Somerville
A full-service tune-up on a Somerville garage door typically runs $99-$180 for inspection, lubrication, hardware tightening, and safety adjustments. Repairs, when something has actually failed, run higher depending on the part. The ranges below are typical estimates for the local market, not fixed prices – the written estimate you receive sets the final number. All prices are quoted and agreed before any work starts.
| Service | Typical Estimated Cost |
|---|---|
| Full preventive tune-up (inspection, lube, tightening, adjustments) | $99-$180 |
| Torsion spring replacement (single spring) | $180-$340 |
| Torsion spring replacement (matched pair) | $360-$680 |
| Bottom seal or weatherstripping replacement | $90-$200 |
| Roller replacement (full set) | $120-$220 |
| Cable replacement (pair) | $150-$280 |
| Opener motor or circuit board repair | $180-$380 |
| Photo-eye or safety sensor replacement | $80-$160 |
| Hinge and hardware replacement | $60-$140 |
A matched pair of springs is usually replaced together, so a pair costs about twice a single spring. If a technician quotes one range for both, ask which they’re replacing. Call (844) 793-4614 for an exact estimate on your door – estimates are free. We answer 24/7, with fast dispatch from 7am to 7pm, Sunday through Friday.
Common Mistakes to Avoid
- Greasing the torsion spring and rollers with household products. WD-40 and similar sprays feel like they’re solving a squeak, but they attract grit and Salt-Neighborhood dust into the pivots. Use a spray silicone or lithium grease designed for garage door hardware.
- Ignoring the bottom seal through the winter. Somerville sees a real freeze-thaw cycle every year and a seal that quietly fails in January causes moisture in the garage by March. Inspect after the last snow melts.
- Tightening hardware with a screwdriver instead of a wrench. Screwdriver-tight isn’t tight enough to survive bus vibration. Use a socket on the track bolts, and replace worn screws with longer ones instead of just retightening them.
- Adjusting opener force to compensate for a binding door. Increasing force on an opener to push past resistance is a way to burn out the motor and mask a real door problem. Fix the door, then check the opener.
- Skipping the lift test after a cold snap. A door that opens a few inches and stops on a cold morning is telling you a spring is failing. Don’t keep cycling it – you’ll strip the opener gear and add to the repair bill.
- Assuming a quiet door is a healthy door. On a well-maintained Somerville door you’ll hear a soft hum and a steady roll. Any new rattle is worth investigating.
- Letting brick salt-corrosion build up on the bottom track. A damp rag once a month during salt season removes the paste before it grinds into the rollers – a 2-minute job most homeowners never do.
See the difference
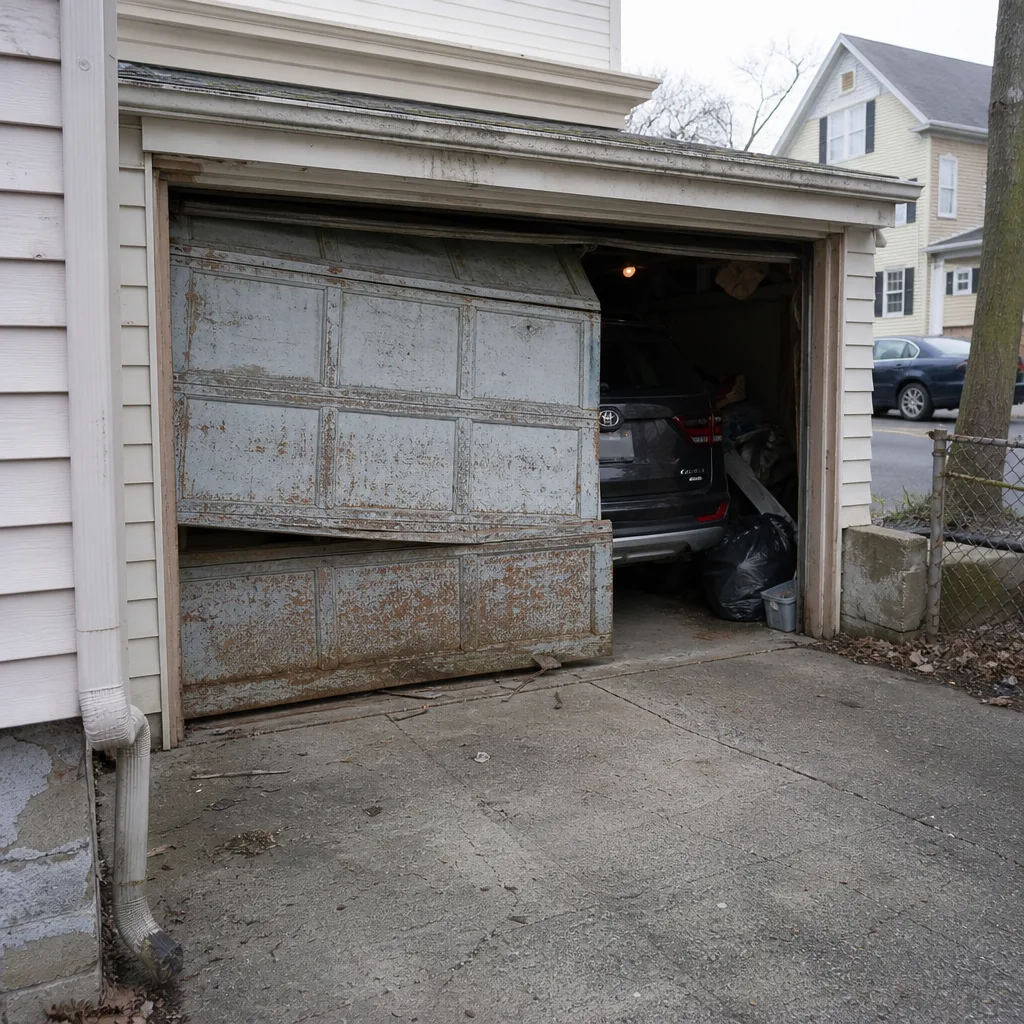 Before
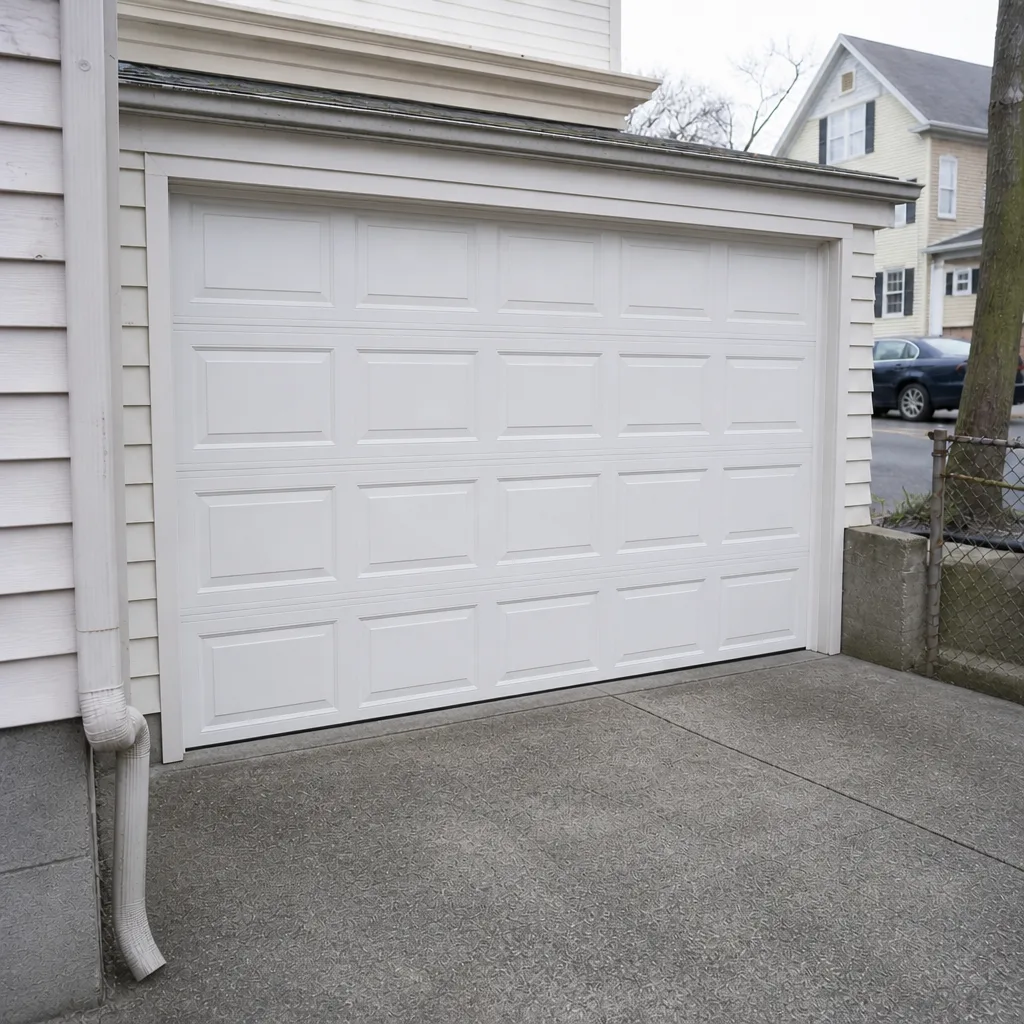 After
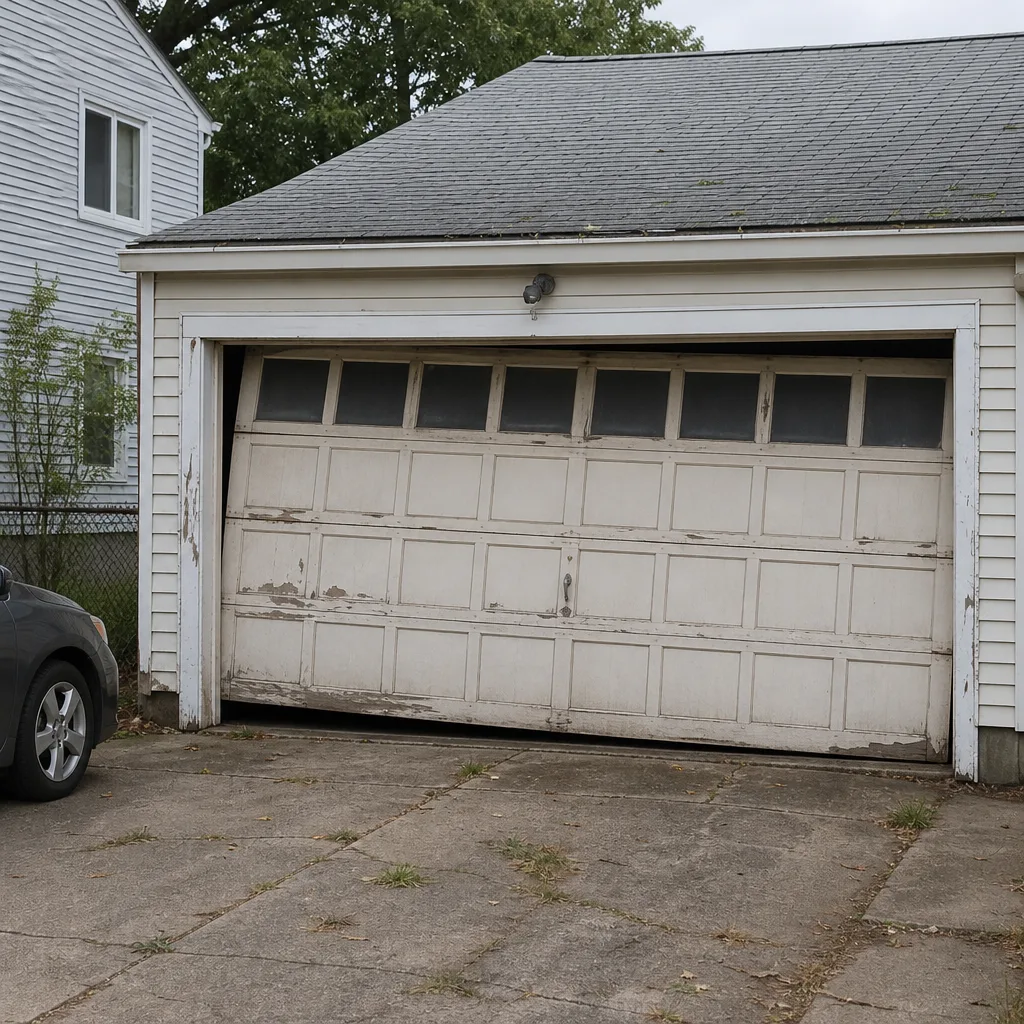 Before
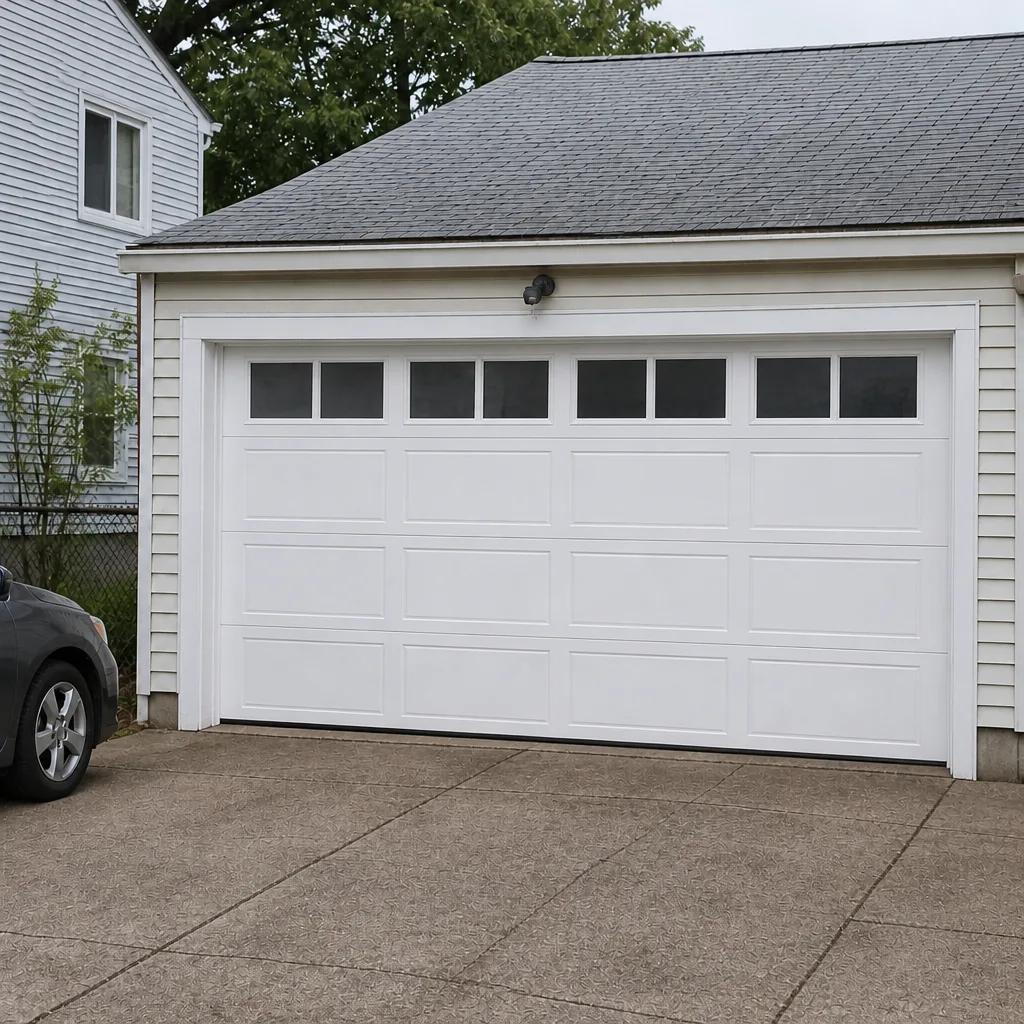 After
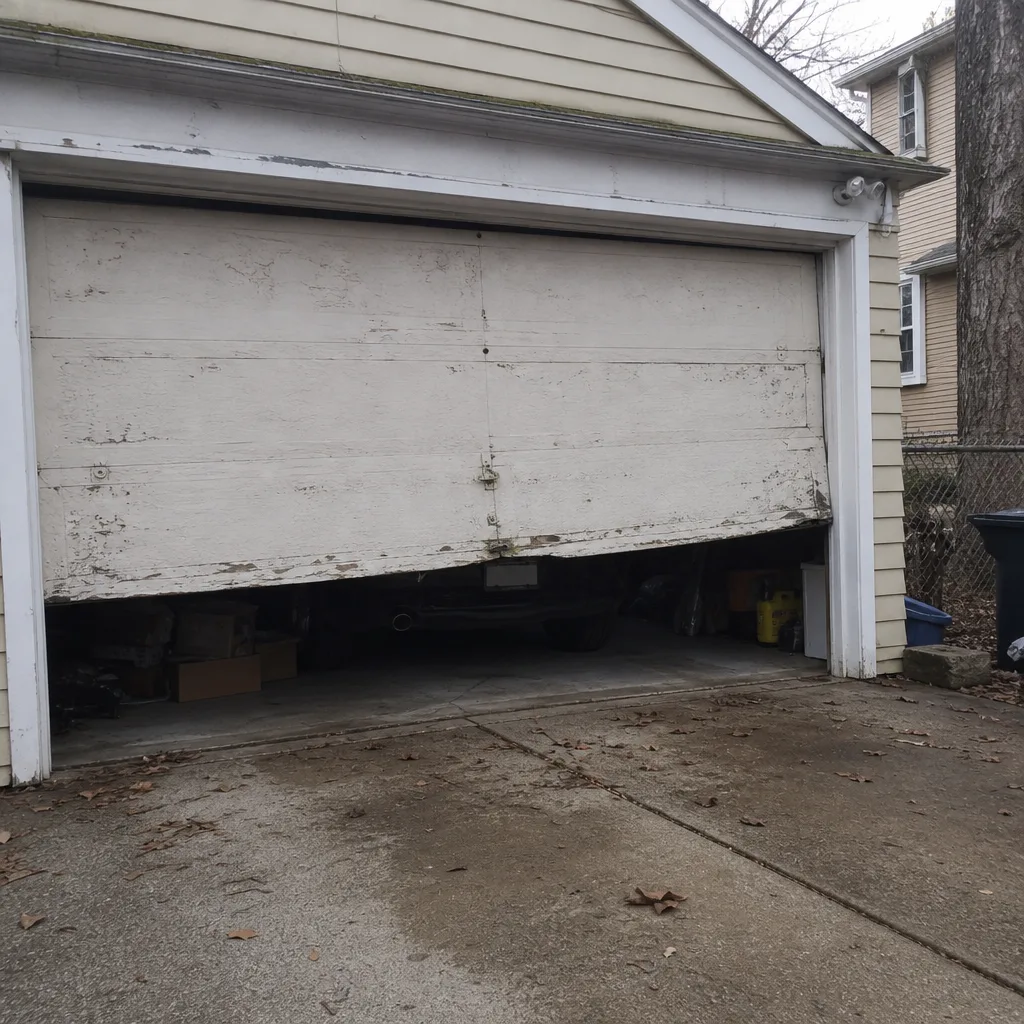 Before
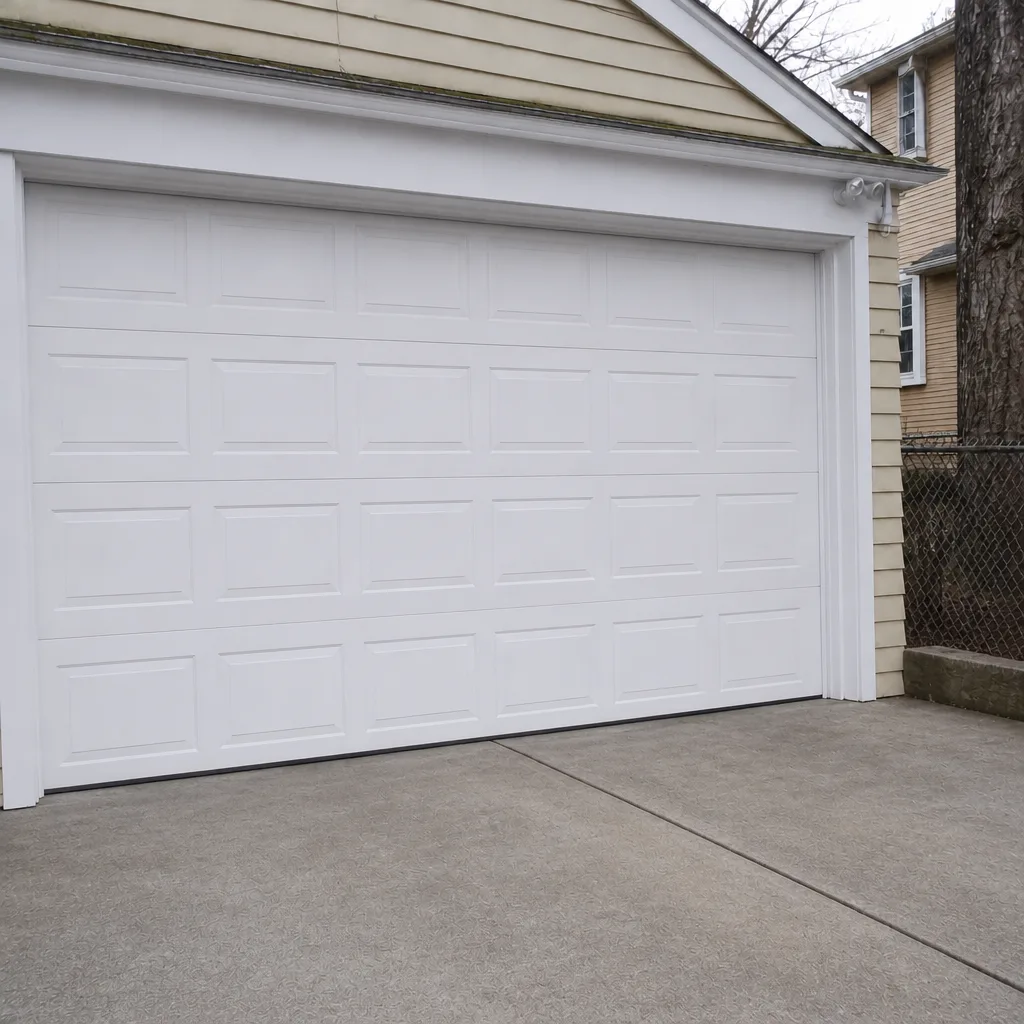 After
When to Call a Professional
Call a professional the moment you spot any of these: a broken or heavily rusted torsion spring (visible gap in the coil), a door that won’t lift or drops on release, cables that are slack, frayed, or off their drums, a door that goes up crooked, an opener that won’t reverse on contact, or a door that has come off its track. Also call if you’ve never had the door professionally inspected and you can’t tell whether the seals and springs are still within their service life – a tune-up is cheaper than a spring failure on a school morning. Somerville Garage Door Repair Pros offers free estimates in Somerville – call (844) 793-4614. Our technicians have up to 11 years of experience and work on LiftMaster, Chamberlain, Genie, Clopay, Amarr, Wayne Dalton, Craftsman, and Raynor equipment. We answer 24/7, with fast dispatch from 7am to 7pm, Sunday through Friday.
Frequently Asked Questions
Four times a year works well here – once before salt season, once in mid-winter, once after the spring thaw, and once in mid-summer. Somerville’s road salt and grit wear the lubricant film faster than in a rural setting, so lean toward the higher end of any general advice you read. Use spray silicone or a light garage-door grease, never WD-40 or household oils. Call (844) 793-4614 for a free estimate if you’d like the job done as part of a tune-up.
No. Torsion springs are under enormous tension and cause serious injury if handled without the right tools and training. Even the standard “unwind before removing” process requires specific rods that a homeowner shouldn’t be improvising. We handle spring repair as a core service, not something we subcontract. Call (844) 793-4614 for a free estimate – we answer 24/7, with fast dispatch from 7am to 7pm, Sunday through Friday.
Almost always the track bolts, hinge screws, or opener rail bolts. Bus vibration works those fasteners loose over months on any Somerville home near a busy corridor. Walk the tracks with a socket wrench and check the rail bolts at the opener. If the noise continues after tightening, one of the rollers or hinges may have worn – call (844) 793-4614 for an estimate.
Usually three to five years with a full freeze-thaw cycle each winter, shorter if the seal sits in a low spot where slush pools. Check it after the last snow every year and replace as soon as you see cracking or daylight gaps. A seal replacement is one of the cheaper repairs we do – typically $90-$200. Call (844) 793-4614 for an exact price.
A tune-up is cheaper than a repair every time. Typical preventive service runs $99-$180, while a spring replacement alone starts around $180 and can hit $680 for a matched pair. We see plenty of Somerville doors where a broken spring was the final straw after two seasons of skipping the lift test. Call (844) 793-4614 for a free estimate.
No. The written estimate you receive sets the final price, and we don’t start any work until you’ve agreed to it. If we find an additional issue during service, we’ll explain it and quote it separately before touching anything. Call (844) 793-4614 to schedule a free estimate – estimates are free and the price is quoted and agreed before any work begins.
The Bottom Line
A garage door maintenance checklist for Somerville works when it’s timed to the things that actually stress the door: road salt, freeze-thaw swings, and vibration from heavy traffic. Get the lubricant right (silicone-based, not WD-40), inspect the bottom seal after every winter, run the lift test whenever temperatures move sharply, and check the hardware for looseness near busy corridors. Most of that fits into 10-20 minute sessions spread across the year. Anything involving torsion springs or high-tension cables belongs with a trained technician – we handle that as a core service alongside full opener work on LiftMaster, Chamberlain, Genie, Clopay, Amarr, Wayne Dalton, Craftsman, and Raynor. For anything you’d rather not handle, Somerville Garage Door Repair Pros offers free estimates across Somerville. Call (844) 793-4614. We answer 24/7 and dispatch fast from 7am to 7pm, Sunday through Friday.
Written by the team at Somerville Garage Door Repair Pros.